On this page(10)
How to Create an Email Marketing Campaign Step by Step
If you have never run a campaign before, figuring out how to create an email marketing campaign can feel like a lot of moving parts at once. This guide walks you through the whole thing in order, from the goal you set before you write a single word to the numbers you check after the send. It is written for small business owners, marketers, agencies, and anyone sending to people who actually asked to hear from them.
Step 1: Start with one clear goal
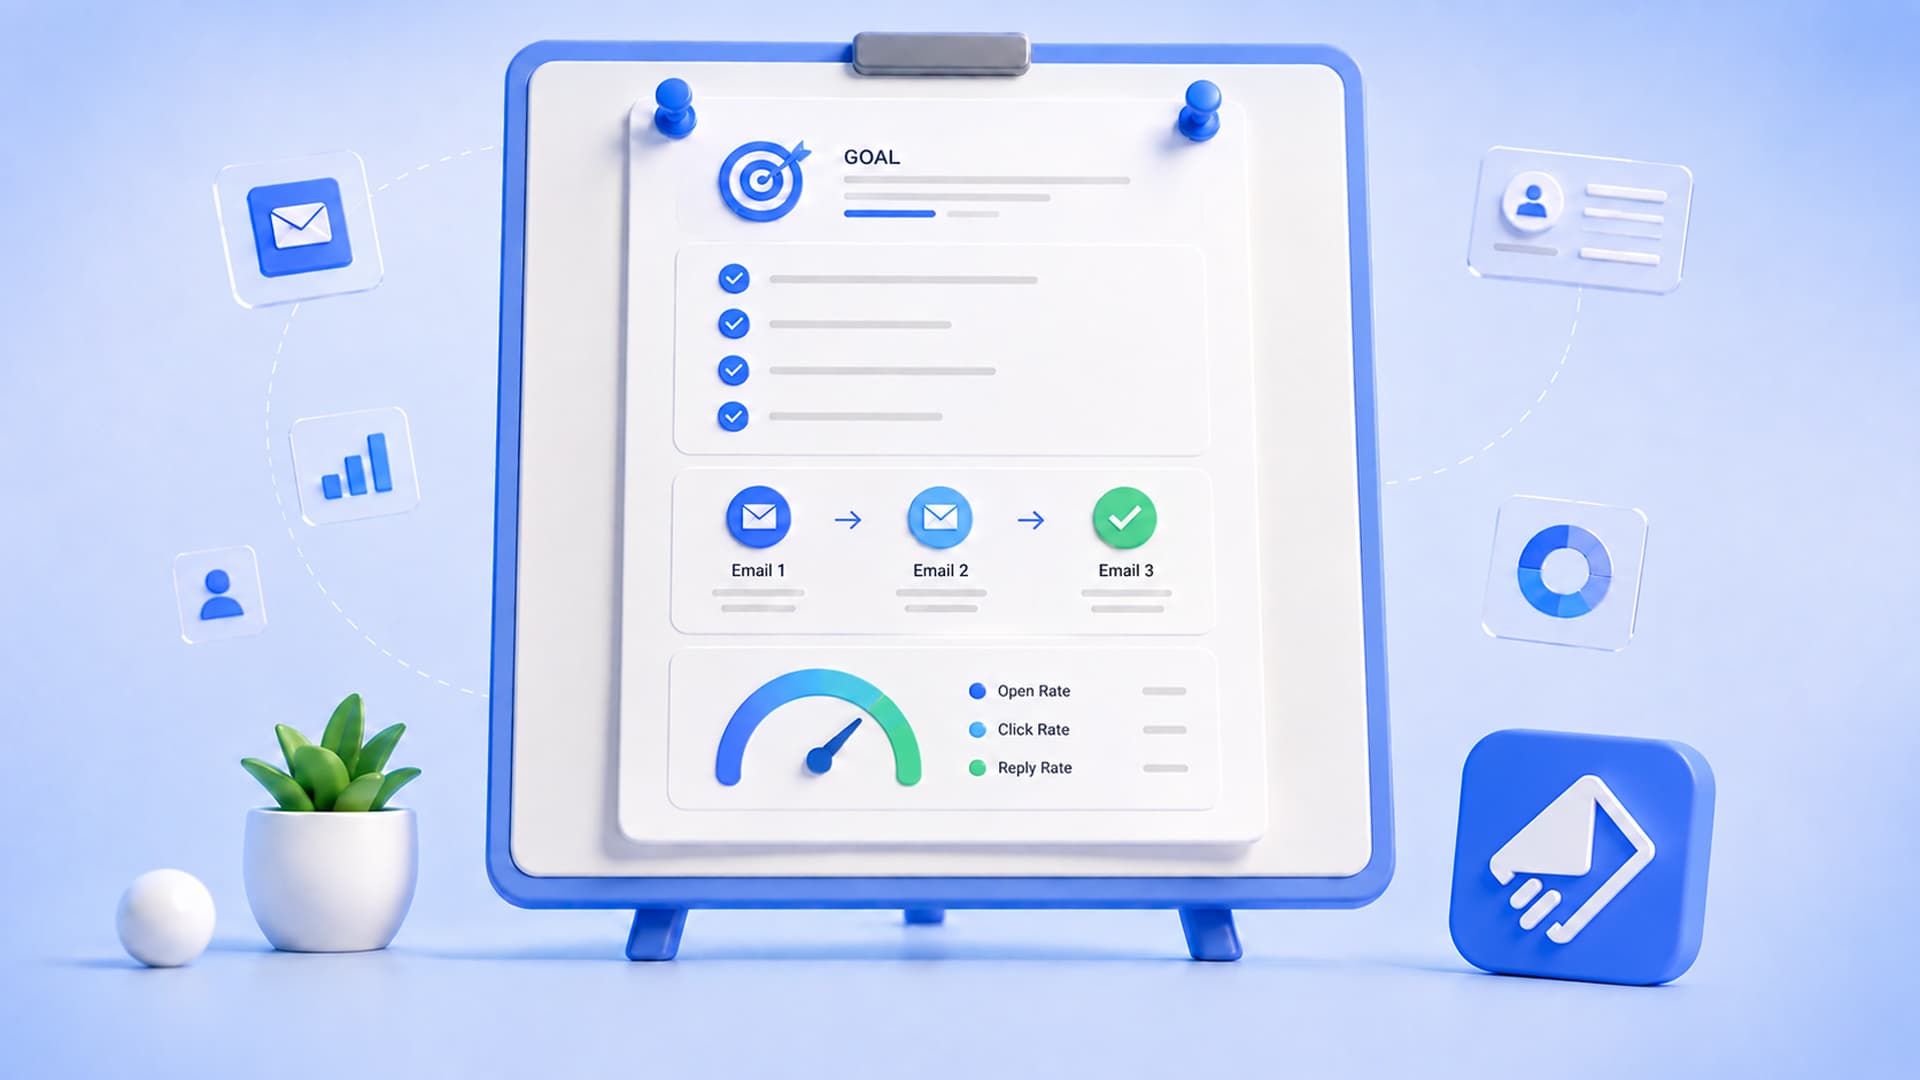
Every good campaign answers a simple question first: what do you want the reader to do? A campaign with no goal turns into a newsletter that says a little about everything and asks for nothing. Pick one primary action and let the rest of the email serve it.
- Drive traffic to a new blog post or product page
- Get replies to a question you are asking
- Promote a sale or a limited-time offer
- Re-engage subscribers who have gone quiet
- Onboard new signups with a helpful first step
Write the goal down as one sentence before you do anything else. When you are unsure whether a line belongs in the email, that sentence is how you decide.
Step 2: Build a permission-based list
Your campaign is only as good as the people receiving it, and the healthiest lists are built on permission. That means everyone chose to be there through a signup form, a checkout opt-in, a lead magnet, or a clear checkbox. People who asked to hear from you are the ones who open, click, and reply, and mailbox providers pay attention to how recipients treat your mail.
A few habits keep a list clean from day one:
- Use a signup form that states what people will get and how often
- Avoid buying or scraping lists, which invites spam complaints
- Remove hard bounces and unsubscribes right away
- Verify new addresses so typos and dead inboxes do not pile up
Good email list management makes this less manual, and running new contacts through list verification before you send helps you avoid emailing addresses that were never real in the first place.
Step 3: Segment so the message fits the reader
Sending the same email to your entire list works, but sending the right email to the right slice works better. Segmenting means grouping contacts by something you know about them so the message lands as relevant instead of generic.
Common ways to segment:
- Behavior: opened your last few emails, clicked a specific link, or went quiet
- Purchase history: first-time buyers versus repeat customers
- Signup source: a lead magnet, a webinar, or a checkout
- Stage: brand-new subscriber versus long-time reader
You do not need dozens of segments to start. Even splitting “engaged” from “quiet” changes how you write, since you can thank one group and try to win back the other.
Step 4: Write a subject line and body that earn the click
The subject line decides whether the email gets opened, and the body decides whether the reader acts. Keep the subject line short, specific, and honest about what is inside. Clickbait might get one open, but it costs you trust on the next send.
Here is a simple structure for the body that works for most campaigns:
- Hook: one line that connects to why they signed up
- Value: the useful thing, said plainly
- Call to action: one clear button or link tied to your goal
A short sale announcement might look like this:
Subject: Your 20% off ends Sunday
Hi Priya, the spring sale wraps up this weekend. Everything in the store is 20% off through Sunday night, no code needed. If there is something you have been eyeing, now is a good time.
[Shop the sale]
Notice there is one offer, one deadline, and one button. If you need help turning that copy into something that looks the part in the inbox, a visual email builder and a starting point from email templates save you from designing from a blank page.
Step 5: Design for the inbox, not just the desktop
Most people read email on a phone, so your design should hold up in a narrow, quick-scan view. Fancy layouts can break; simple ones rarely do.
- Use a single-column layout that reflows cleanly on mobile
- Keep the main message and button visible without scrolling far
- Write descriptive link and button text instead of “click here”
- Add real alt text to images in case they do not load
- Set a preview text (preheader) that continues the subject line
Before you move on, send yourself a test and open it on your phone. The gap between the editor and a real inbox is where a lot of avoidable mistakes hide.
Step 6: Set up follow-up before you hit send
This is the step most beginners skip, and it is where a single campaign becomes a system. One email is a moment. A follow-up sequence is a conversation. When someone does not open or click the first message, a well-timed second touch a few days later often does the work the first one could not.
The key is to make follow-up conditional. The whole idea behind EmailSendX is email that follows up for you, and a follow-up should stop the moment someone replies so nobody gets a “just checking in” note after they already answered. A simple, permission-friendly follow-up plan for a campaign might look like this:
- Day 0: the main campaign email
- Day 3: a short nudge to people who did not open, with a fresh subject line
- Day 6: a final reminder to people who opened but did not click
You can build this once with automated follow-up sequences and let it run on autopilot, with the sequence stopping automatically as soon as a contact replies. That is the difference between blasting a list and actually keeping up a relationship.
Step 7: Send at a sensible time and mind your provider
There is no magic send time that works for every audience, so treat timing as something you learn, not something you guess once. A reasonable default is a weekday mid-morning in your readers’ time zone, then adjust based on what your own opens tell you over a few sends.
How you send matters too. EmailSendX lets you bring your own sending provider, whether that is Amazon SES, SendGrid, Brevo, Mailgun, Postmark, Resend, plain SMTP, or Gmail, with flat pricing and no per-contact fees. That means as your list grows, your sending cost stays predictable instead of climbing with every new subscriber. If you are moving off an all-in-one tool for exactly that reason, it is worth seeing how a Mailchimp alternative handles pricing differently.
Step 8: Measure what happened and improve the next one
Once the campaign is out, the numbers tell you what to do next. Focus on the metrics that connect to your goal rather than vanity counts.
- Open rate: a signal about your subject line and sender reputation
- Click rate: whether the body and offer actually motivated action
- Replies and conversions: the outcomes closest to your goal
- Unsubscribes and complaints: a check on relevance and frequency
One note on opens: some inbox privacy features and bots can inflate that number. Real-opens tracking that filters out bot activity gives you a cleaner read on who genuinely engaged, which matters when you decide who to follow up with. Dig into your email analytics and reporting after each send, change one thing next time, and let the results compound. And because replies are part of the picture, keeping them in a shared inbox next to your CRM means a campaign that sparks a conversation does not get lost.
Putting it all together
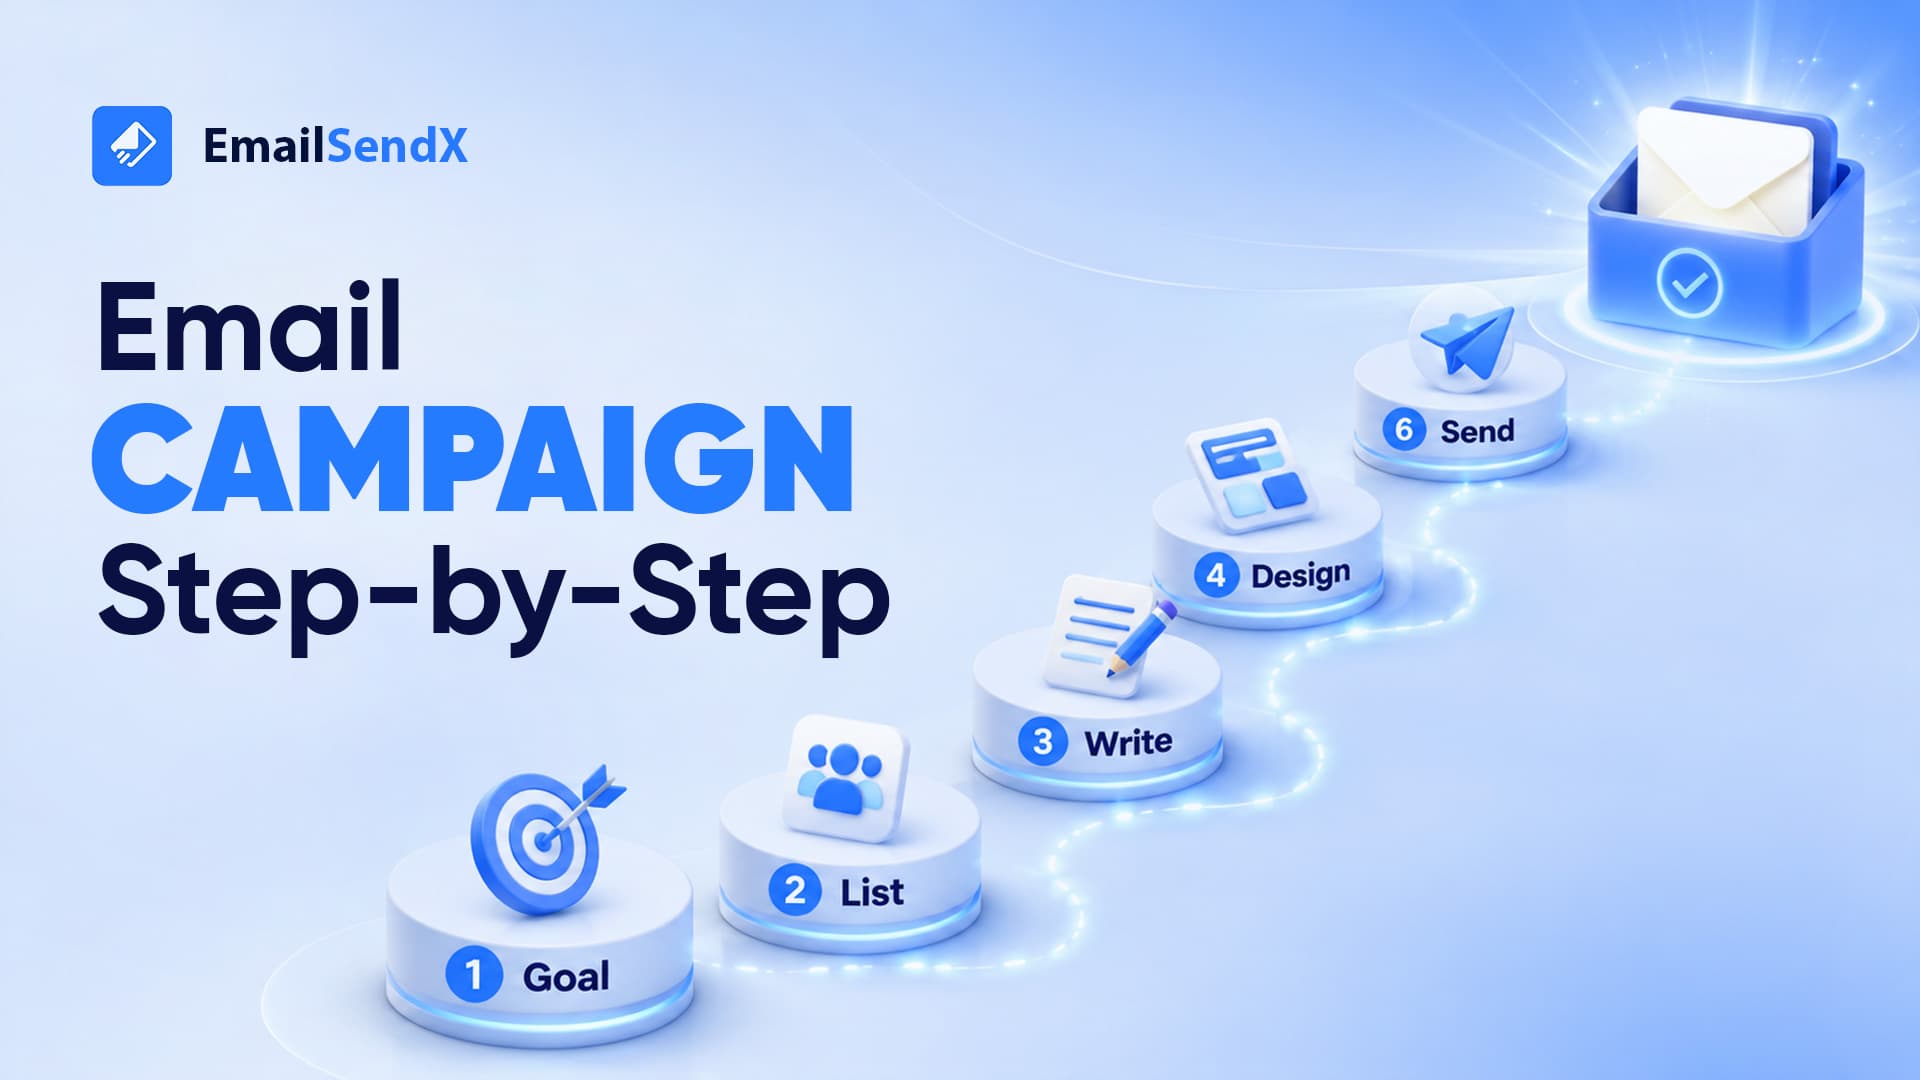
Creating an email marketing campaign is really just eight decisions made in order: one goal, a permission-based list, a smart segment, copy that earns the click, a clean design, a follow-up plan, a good send, and an honest look at the results. Do those in sequence and you have a repeatable process rather than a one-off gamble. The first campaign teaches you the steps; every campaign after gets easier.
When you are ready to run one without stitching tools together, you can start free with EmailSendX and let the platform handle the part beginners forget most: the follow-up. It is email that follows up for you, and stops the moment someone replies.
Ready to put your email on autopilot?
Ready to try it?